Monday 16 December 2013

Liz Brizzi: Mixed Media Landscape Artist

Lately I have become quite enthusiastic regarding mixed media art. Therefore I decided to research urban landscape artists that use this style of art for their work and I came across Liz Brizzi who's art work stands out with quality and seems to reflect desolation and decay. She seems to have found the knack of producing work with that scratchy and distressed atmosphere whilst still retaining colour.
Reading up on Liz Brizzi I find that her inspiration for her art comes from the industrial aspects of big cities and she has created numerous pieces centred around LA.
Liz's unique style starts with her own original photographs. She works with the idea of a 'mood' of a painting and uses the photographs she has that 'speak to her', tweaking them on photoshop, cutting them and creating a photo montage. Liz then places this photo montage onto an acrylic painted wood panel and then blends with layers of colourful acrylic washes.
Below are some examples of her work.


Quick Sketches

I have found that Sketches can be a good way to find out if a scene works for me and therefore helping me to make the decision as to whether to work with that scene in a larger or more complex project.
Here are some of my sketches that I have completed during my time at college:


Sketch from life using ink pen


sketch from life using soft pastels
sketch from photo using red and black ink


sketch from photo using ink pen

Sketch from life using Ipad and ArtRage

Urban Landscape Artists Research: Nathan Walsh

Nathan Walsh is an interesting artist, not only because his paintings are extremely life like but because his artistic technique involves extremely complex drawings resembling that of an architechural blueprint.
Many artists use a camera or computer software for the base of their paintings and work with that to complete their finished piece, however Nathan Walsh interestingly rejects this technique and instead relies on his drawings of certain chosen scenes. Walsh prefers to use his Human eye therefore giving him the chance to make pictorial decisions. With mathematical structure he is able to give his art a sense of 'real life'. His Paintings are geometrically perfect looking but actually give a sense of perhaps 'bent space'. This could question the Human eye's perception of the world and that which surrounds us.
"Working with a box of pencils and an eraser I will start establishing an horizontal line on which I will place vanishing points to construct simple linear shapes which become subdivided into more complex arrangements." Nathan Walsh. 
 Walsh's paintings take up to three or four months to complete. Here are some examples of his work.


Sunday 15 December 2013

Urban Landscape final piece: Evaluation

After careful consideration regarding the many different ways I could achieve my final piece I decided to use acrylic paints. I have enjoyed using watercolour, soft pastel, ink, etc (please see previous post) however I wanted to put forth a painting which looked almost saturated in colour and so I decided that acrylic paints were possibly a good option to use for this effect.
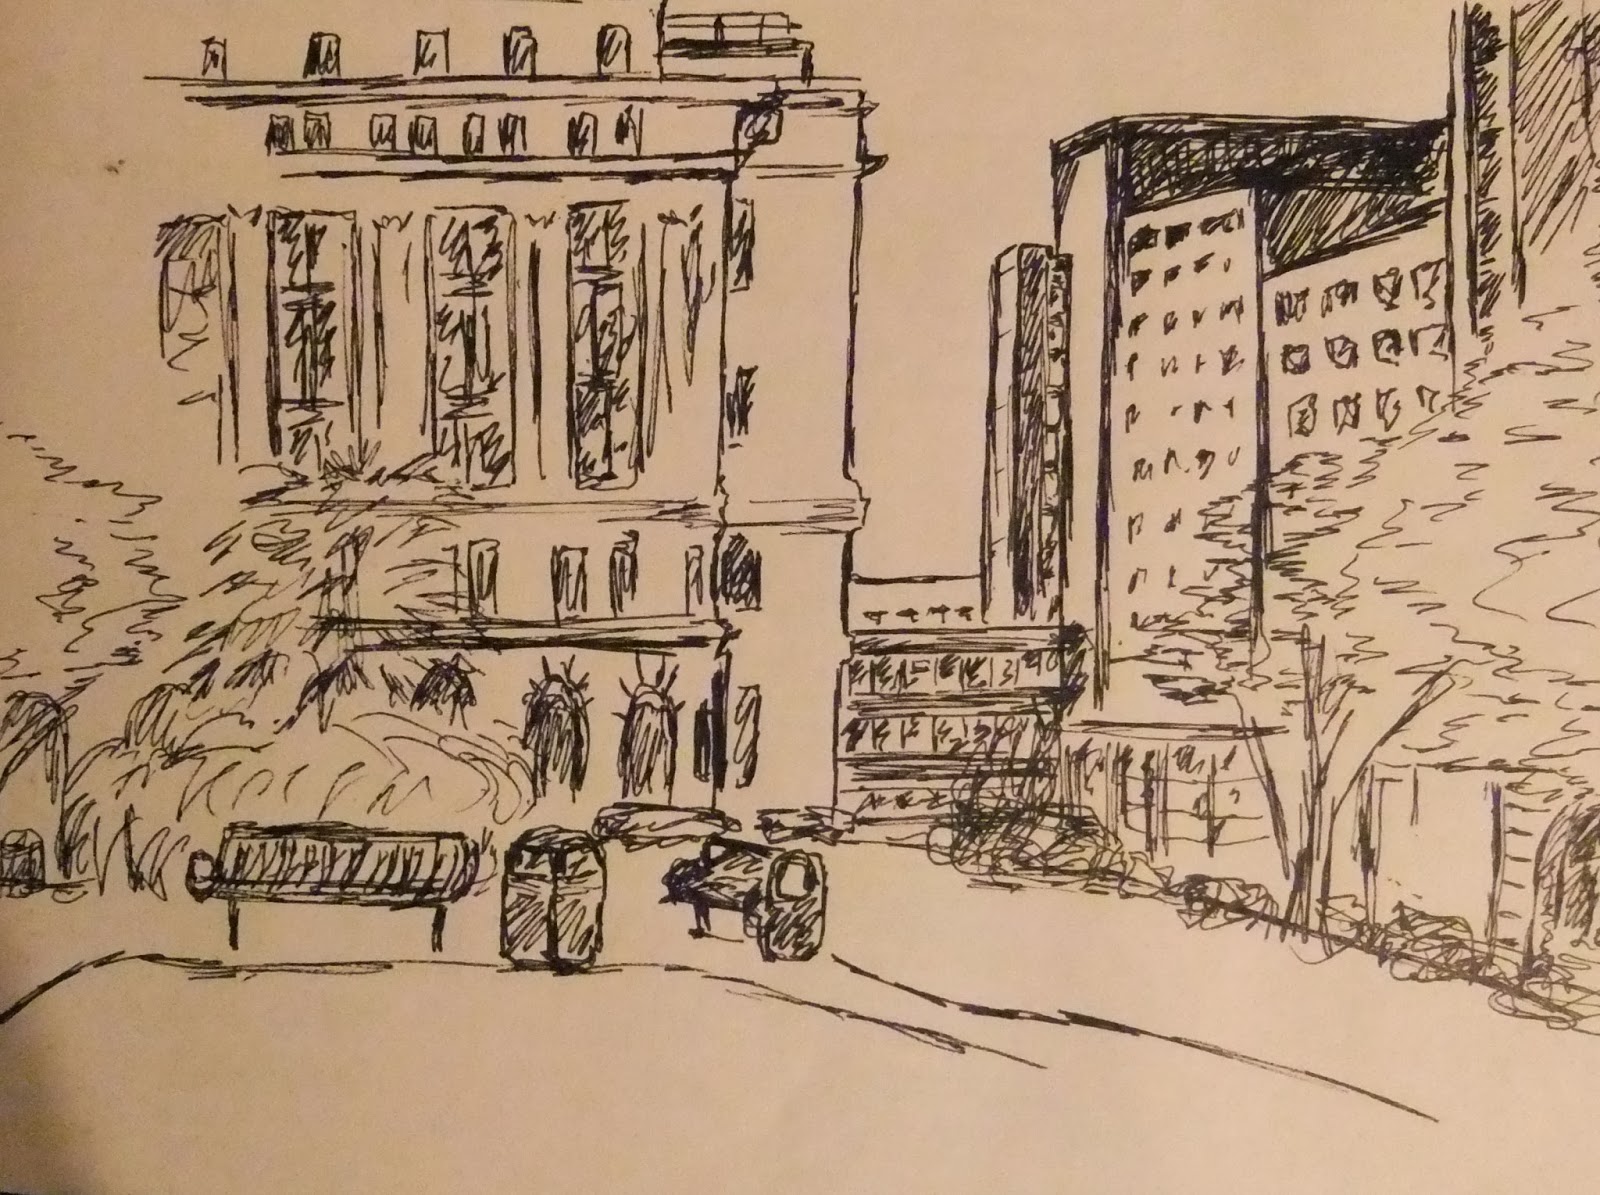
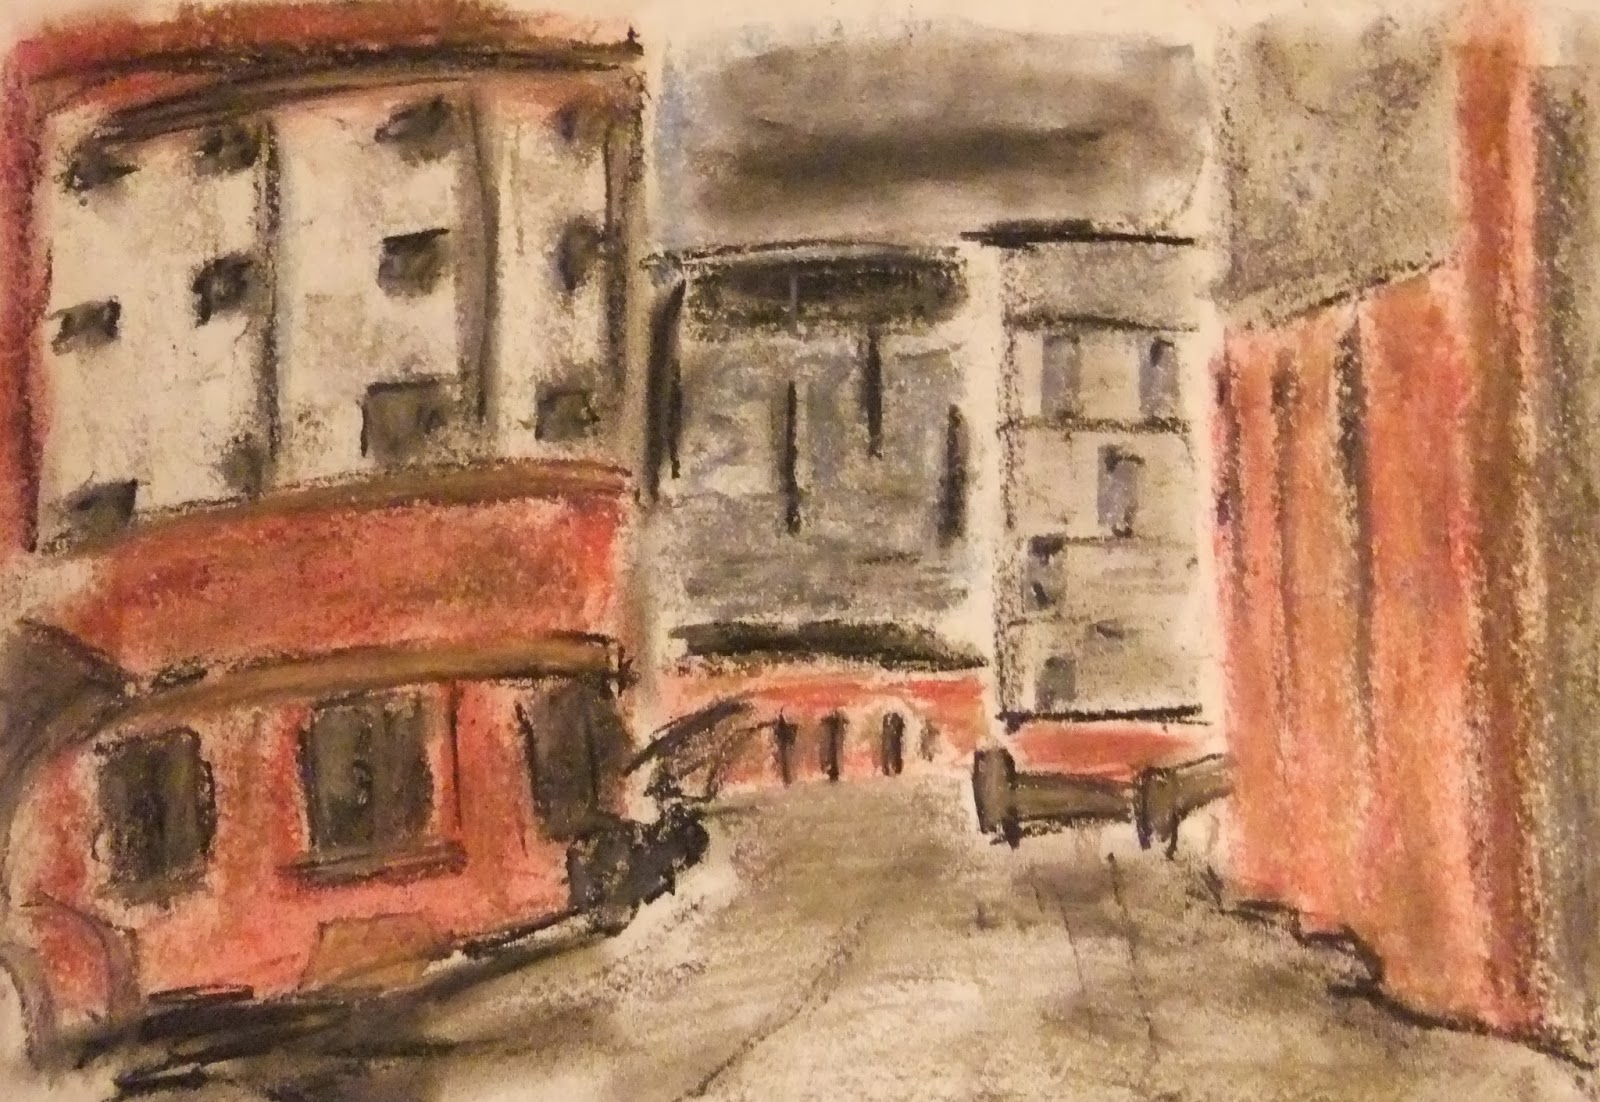
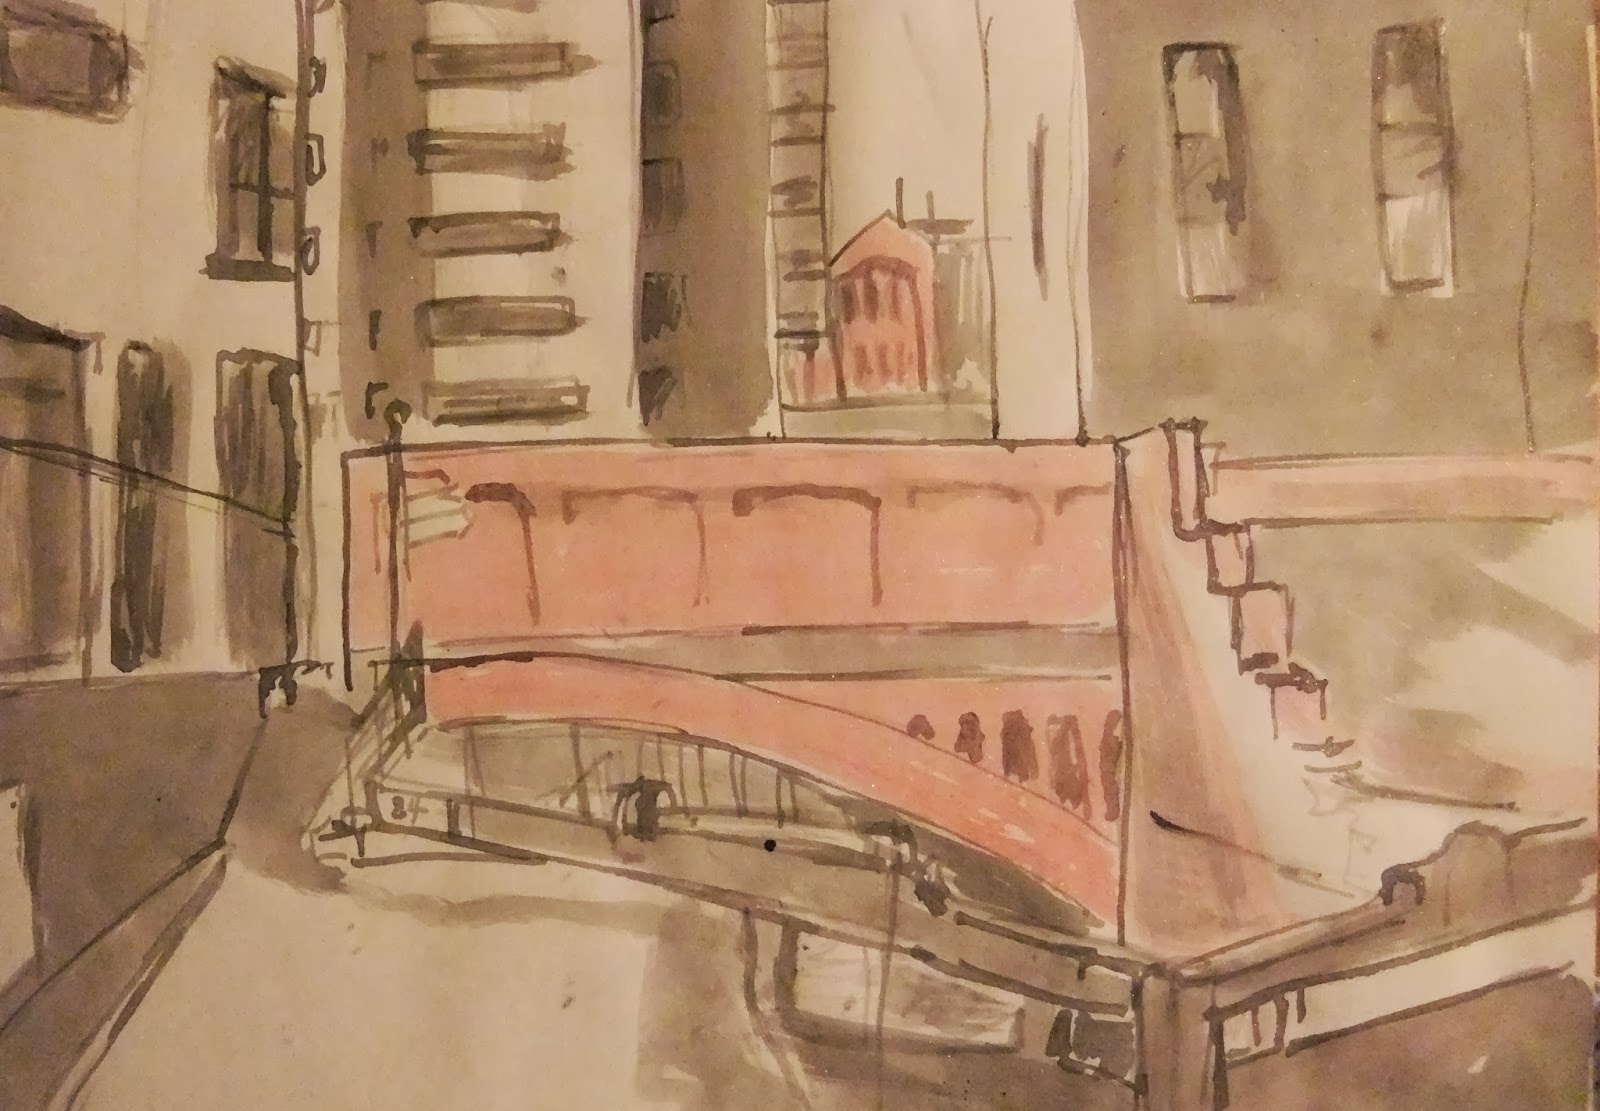
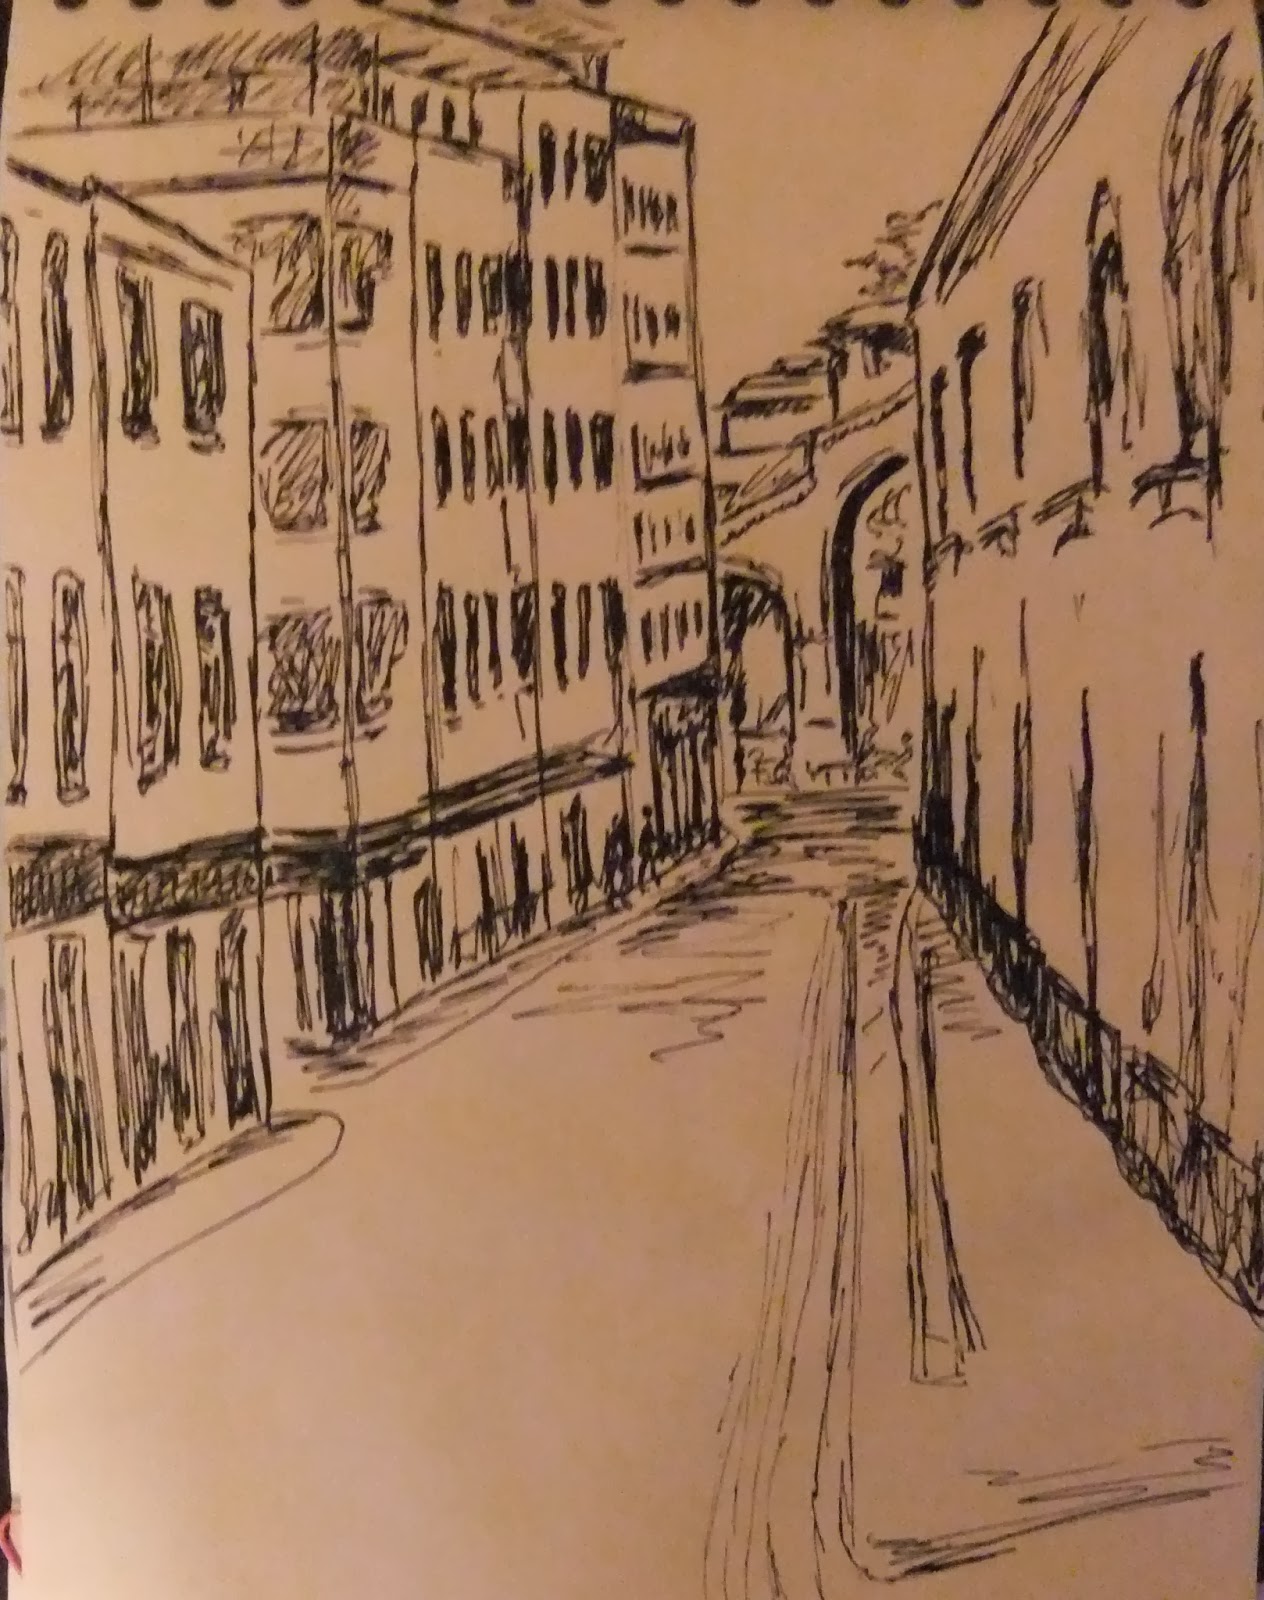
When it came to starting the painting I knew that the way I work tends to involve 'not putting the paint brush down'. I realise that I work best this way and if I put a painting away for a few days I may not finish it. I tend to work intensely for most of the day or days for that matter in order to get a piece of art finished. This particular painting was done over two days using acrylic paints, brushes, card and sponge from one of my own photographs of an urban landscape scene in Manchester. I started by painting a pale cream/yellow background with a wide brush, and then using the card I scraped the shapes of the different buildings onto the canvas. Then I started to add the detail, slowly building the painting up. After taking the painting to college and having words with Tony I decided to work more on the painting as I felt that some of it was a little too harsh especially the blacked out part in the bottom left hand corner, so I lightened the original photograph on my computer so I see more of the detail in the darker areas and then I painted in those parts over the blacked out area.
Here are photographs of the stages of my painting before completion.